


- Name: Weyandt’s Revenge
- Location: Sharkmaw Caverns , South East of Lion’s Arch
- Location map: Lion’s Arch / Maguuma Jungle
- Recommended level: any
- Achievement type: Explorer
- Puzzle Type: Jumping / Maze / Traps
- Duration: 25-40 minutes
- Difficulty: Normal
- Prize (except fun): Achievemnt / Chest / Access to lvl 40 Karma , Pirate , Cultural , Weapons
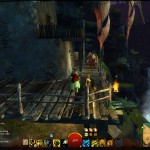
This is one of the more interesting and more complicated jumping puzzles. The very entrance to the section with the puzzle is very grandiose and this feeling continues all the way through to the end of the puzzle where you unlock a level 40 pirate zombie cultural karma weapon vendor (yes you read it right), which makes this puzzle one of the most unique ones out there.
What makes the whole journey through this puzzle so exciting is the fact it consists of three distinctly different parts separated with some very easy and some very hard jumping sections. The three parts are the Labyrinth, trap laden hallways and the dark cave. To learn how to beat all three challenges please consult the images and guides bellow.
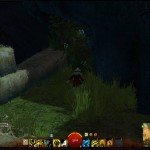
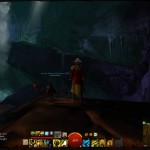
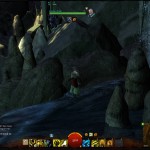
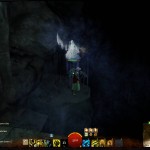
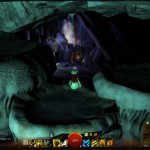
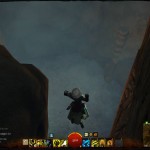
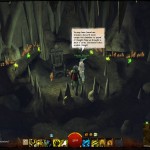
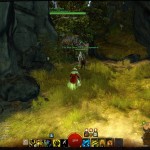
The entrance is bellow one of the Vista points. Once you visit the Vista you will see a mouth like cave entrance bellow and Captain Weyandt calling out for you. Once you jump to the cave “mouth” stand on one of the “teeth” and you will start sliding down and you need to make sure you jump in correctly or you might miss the water and crash on the cave floor. You want to hit the middle of the “mouth” if at all possible.
-
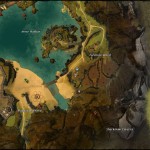
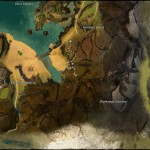
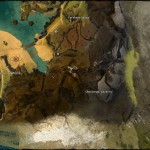
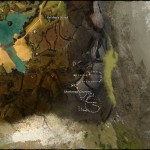
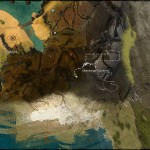
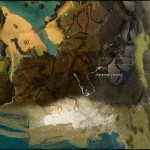
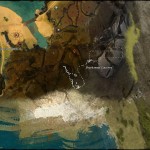
- Map view of where you start your journey to Weyandt’s Revenge
-
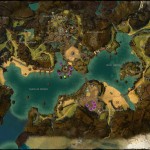
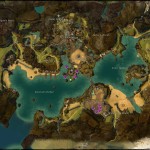
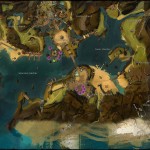
- Zoomed out map of the starting point for Weyandt’s revenge
-
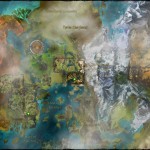
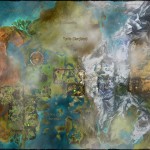
- World map view of the starting location for Weyandt’s revenge
-
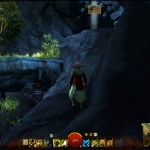
- Up the stairs here
-
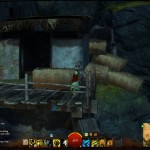
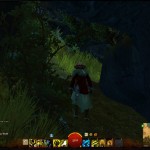
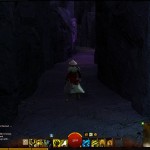
- Follow the road along this house
-
- There are hay stacks you should climb here
-
- Jump up the hay stacks
-
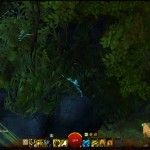
- There is a hidden passageway here
-
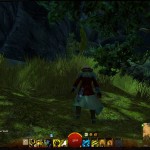
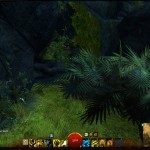
- Keep going through the bushes
-
- Long way up

-

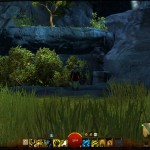
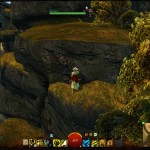
- Climb up this rock formation
-
- You can see the Vista from here
-
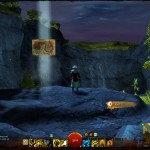
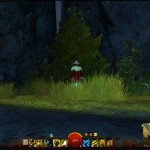
- Captain is calling for you
-
- Map of the vista location
-
- Vista cinematic plays out showing you the mouth of the cave
-
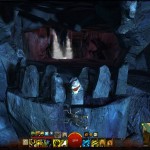
- Position yourself onto this middle “tooth”
-
- There is actually a small rock here you will slide off of into the cave
-
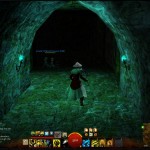
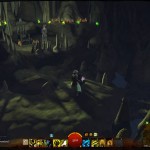
- You made it inside the cave without breaking your neck
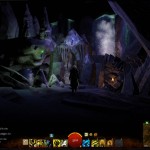
The only way to successively navigate this labyrinth is to follow the strange light that you can find at the beginning of the labirynth or to read our guide on how to do it. If you do not want spoilers – skip this part now.
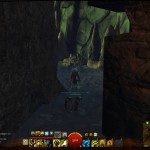
The moment you enter the maze go right. You will pass one purple torch and come upon a blue-ish torch. Go left at that torch through a false rockface. Continuing on you will pass a blue-ish torch, a purple torch, remains of First Mate Shane and another blue torch. You will go through another false rockface to the left of the torch. Go past another purple than blue torch and pass through the last false rockface right of the blue torch and you will reach the end of the maze. Images showing this follow:
-
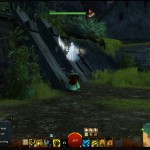
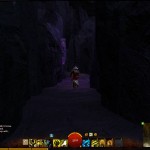
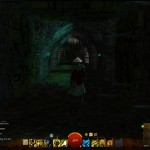
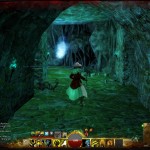
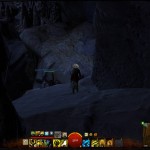
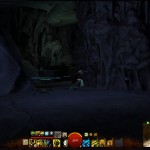
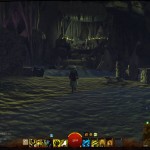
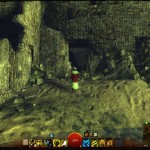
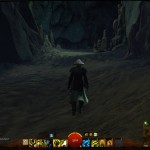
- After surviving the fall go deeper into the cave
-
- A little jumping never hurt nobody
-
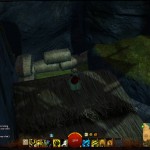
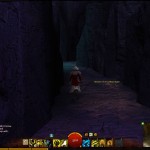
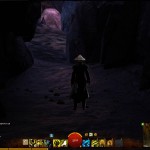
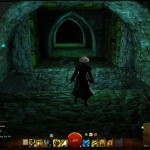
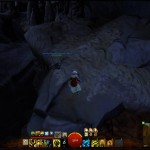
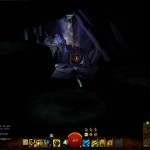
- maze entrance
-
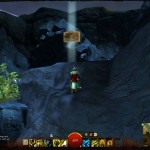
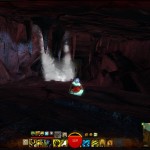
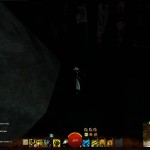
- You need to follow this strange light through the maze to get through it (or read this guide)
-
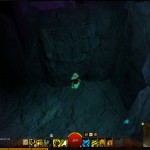
- Immediately you choose the path to the right
-
- You first encounter a purple torch
-
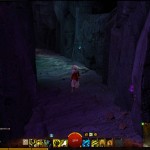
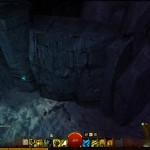
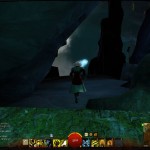
- At the blue torch is the false rockface
-
- This is the false rockface you are looking for
-
- If you zoom in your view this is all you see while passing through the rock. Yes, we wasted your bandwidth for this…
-
- You pass another blue torch
-
- Than a purple one
-
- Remains of First Mate Shane remain behind you (see what I did there?)
-

- To the left of this blue torch is another false rockface
-
- Walk past another purple torch immediately followed by a blue torch
-
- This is the last false rockface located right of the blue torch
-
- You have found the exit! Congratulations. Now for the hard parts of the puzzle…
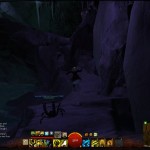
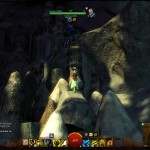
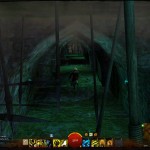
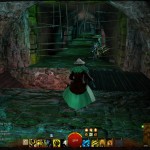
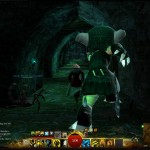
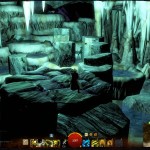
You need to precisely walk down the middle of the hallways until you reach the corners. You can cut across those. There are several spots where you will have to jump over the traps. You need to watch out that the ceiling spikes are in the retracting phase before you jump. Take your time here, because if you are caught in a series of hits by the traps you can quickly die, because each spike places a bleeding condition on you.
-
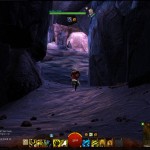
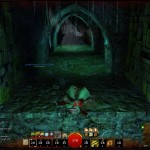
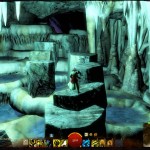
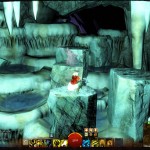
- Once you exited the labyrinth there is a small jumping section before the traps
-
- You can see the entrance to the trapped passageway ahead
-
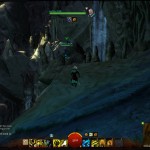
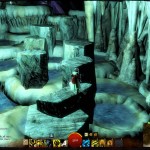
- Staying precisely in the middle is the key here
-

- Dem things be sharp
-
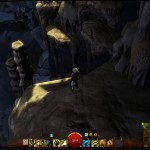
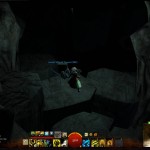
- Yes you are somewhere inside the mountain
-
- Before you jump over these be mindful of the ceiling spikes
-
- Told you
-
- Still wondering inside the mountain I see
-
- You reached the end of thr trapped hallways. Congratulations!
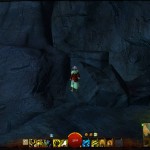
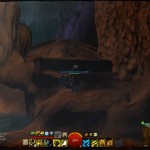
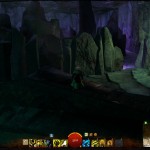
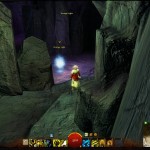
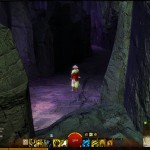
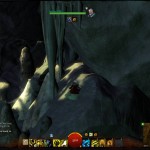
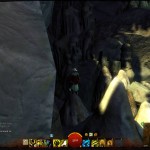
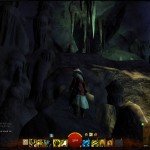
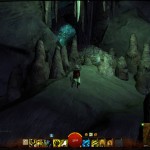
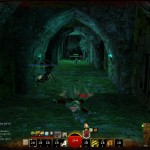
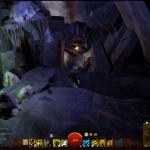
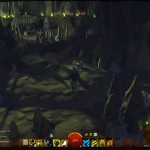
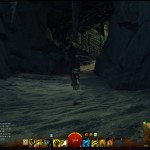
Preceding this section is the hardest jump you will have to make in this puzzle. Those with speed buffs will be lucky and make the jump without much trouble. Those without will have to jump onto a very small rock that is in between the two larger rocks you are trying to get across. If you make that jump you will enter the Dark Cave that earned its ominous name because the place is completely dark and you will not see where you’re going until a lightning flash shows you the way. We recommend you set your gamma setting to maximum in video options while traversing this part of the puzzle.
-
- This is the hardest jump in the puzzle. Use a speed buff if you have one. If not there is a small rock in between that you need to jump onto. You might think it is impossible to make the jump, but this is the way.
-
- This is what it looks like when you manage to jump across.
-
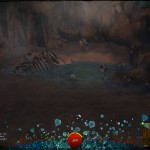
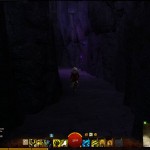
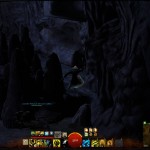
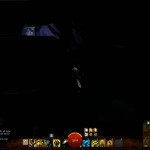
- At the dark cave
-
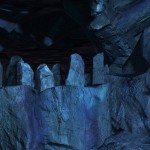
- Lightning flash show you the inside of the cave
-
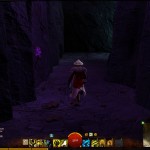
- dark
-
- light
-
- dark
-
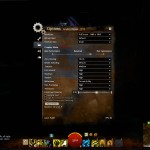
- You might want to set your gamma settings to highest in this place
-
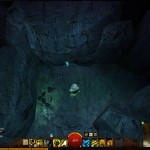
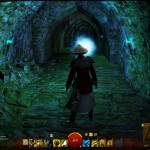
- Light at the end of the tunnel
-
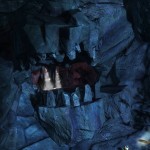
- There are several ways to exit this part of the cave but only one is the correct one.
-
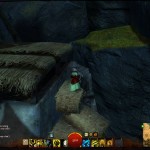
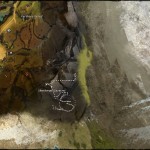
- Choose this hole to exit through
-
- Exact position of the right exit.
-
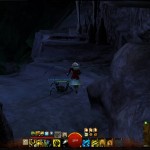
- You will fall down into another pool of water
-
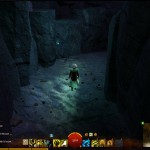
- You safely landed and are now near the end
-
- Hello there Captain
-
- Achievement accomplished. Congrats!
-
- Exact location of the achievement on the map
-
- Loot!
-
- The Captain thinks we’re stuck
-
- This is the exit out of the captain’s cave that will take you to the special karma vendor
-
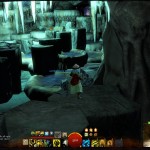
- First Mate Shane is all zombie like and sells some grand pirate stuff

-

- Look at all that cool stuff

-
- Once you jump down you will see that you are not that far from where you starte. What a journey though!
The red exit from the dark cave section ends up killing you from a long fall.
best way inside is make this with friends, if you jump and die at entrance (as we are) if someone make way inside, can ressurect rest of grups in water 😀 labyrint take more time to find correct path, traps are easy if you watch you steps, some hard jump here, dark cave if you cheat with gamma settings are easy part of puzzle, speed boost help, on my level 64 I have better gear then from zombie karma vendor (price is 9600 karma per item, if you want buy)
Wow that labirynth guide is bad tbh, just as soon as you enter hug left wall. you’ll pass 2 fake walls and tadaaa you are there MUCH faster and easier to explain
In the dark cave, if you can use Torch, it should be easy.
@CorrieB: Yeah, “hugging left wall” is actually the solution to _every labyrinth_…
Beat the whole puzzle my first time through, couldn’t afford anything at the karma vendor, and the “magnificent chest” had weak rewards. What a waste of time.